
Why is my clothes steamer spitting water?
Check when your clothes steamer spits, how it is held and whether the tank or hose needs attention. Follow the startup and refill steps for the exact model.
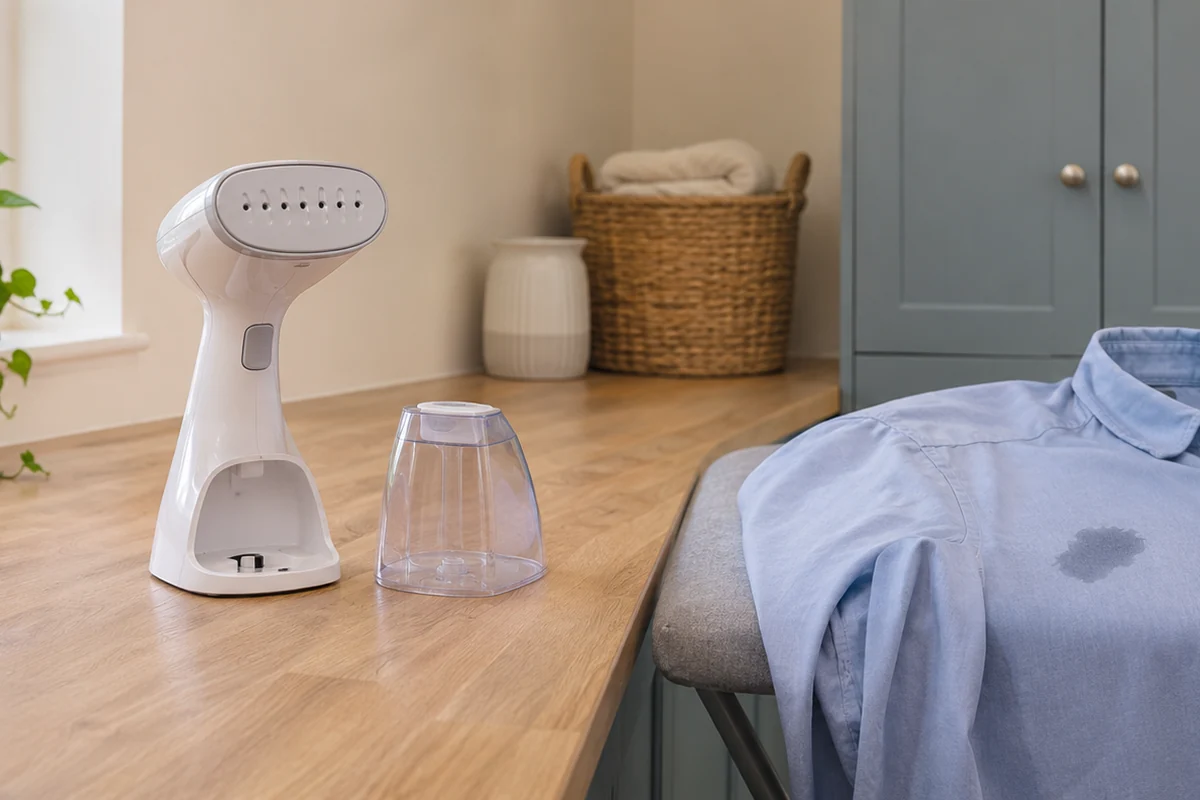
Move the head clear and identify where the water comes from
Stop treating the garment as soon as you notice droplets. Place the appliance in the resting position its maker specifies and keep the hot head clear of people and fabric. If water is escaping from the body, an electrical connection or a damaged part, switch off and unplug if safe. Let it cool and contact the manufacturer.
A few droplets from a steam head at startup and a leak around a tank joint need different checks. Note where the water appears before wiping anything once cool. Look at whether it comes from the steam holes, a cap, the tank seam or a hose connection. Avoid opening fittings while the appliance is hot or powered.
Think back to when it started. Was this the first pass, the first pass after a refill, or the moment you lowered the head to reach a hem? Did you move the base or change the hose route? Those details help you find the relevant section of the manual and explain the problem to support if it continues.
Check the ready signal and refill procedure
Use the full model reference to find its instructions. Wait for the maker's ready indication before asking for steam. If the manual includes a pump-priming step, complete it at the point described. A light that changes during warm-up can have a different meaning from one that indicates standby, so compare the actual pattern with the model instructions.
The Russell Hobbs Steam Genie 2 in 1 28370 lists insufficient heat and a low tank among its spitting checks. After refilling, it specifies reheating for 60 seconds and priming until steam forms. Use those steps for the 28370 and the exact sequence in your own manual for another model.
Russell Hobbs Steam Genie 2 in 1 28370
A ceramic heated plate adds a pressing option to hanging steaming. The UK instructions describe a steam trigger lock and a 60-second warm-up.
Good for
A hanging finish with occasional pressing of collars or cuffs on a suitable flat, heat-resistant surface.
Bear in mind
Pressing still needs a surface that withstands heat and steam. Unplug before filling through the water inlet.
- Pressing feature
- Ceramic heated plate
- Trigger lock
- 60-second heat-up
Before a refill, switch off, unplug and follow the appliance's handling and cooling directions. Check its maximum level and how the tank or inlet is meant to close. Wipe up any spill before connecting power. If the reservoir is removable, compare its fit with the instructions. Water visible through the tank gives you a level check but leaves the seating and cap to inspect separately.
Scroll sideways to compare when the symptom starts and which instructions to check.
| When it happens | Check first | Use the manual for |
|---|---|---|
| First steam after heating | Ready light and startup sequence | Warm-up, priming and any initial discharge procedure |
| Straight after a refill | Fill level, closed inlet and seated tank | Refilling, reheating and restarting |
| When the head changes angle | Whether that operating position is approved | Hanging, flat use and where the head rests |
| After an upright hose dips or bends | Hose route and head position | Condensation handling for the exact upright |
| Leak from body or damaged connection | Stop and unplug if safe | Manufacturer service and repair advice |
Match the angle to the appliance
A lower skirt panel can tempt you to tilt a handheld further than its normal position. Check the allowed angle before trying the same movement again. The 28370 manual warns that backwards tilt can release hot water. A vertical-only steamer also needs to stay in its specified position when you work near the bottom of a garment.
Park the head properly while turning clothes or moving a hanger. A position that is allowed during active use may differ from the permitted rest. If the droplets began after a pause, check both positions. See vertical and horizontal garment steaming for the differences between operating methods.
Check the hose on an upright steamer
On a floor-standing model, compare the base, pole and hose arrangement with the manual while the appliance is off and cool. Look for a tight bend or a low loop introduced when you moved the base. A hose can remain attached correctly while its route changes enough to affect condensation.
The Fridja f1600 manual identifies condensation in the hose as a cause of gurgling and gives a method for extending the hose to let water drain. Follow that procedure with the head in the specified position. Its manual also cautions against forcing or twisting the hose. Check those instructions before moving a hot hose.
Fridja f1600 Commercial Clothes Steamer f1600/BLK
The removable 4 L tank stays in the floor unit. Its hose feeds a separate steam head, with two steam settings and a drain in the base.
Good for
Several steam-compatible panels when the base can stand securely and the sections can all be reached comfortably from the floor.
Bear in mind
Requires a clear floor position and space to store an upright appliance. The larger tank does not extend hose reach.
- 4 L tank
- Hose-fed head
- Two steam levels
- Drain valve
Philips likewise describes low loops in some stand-steamer hoses as a cause of dripping. Its remedies vary with the model and symptom. Find the guidance that names your appliance before applying a timed discharge or raising the head. Keep the head away from clothing while carrying out any approved initial release of water.
Check water and maintenance before returning to clothes
If output has deteriorated over several sessions, read the water and maintenance sections. A change of water supply, an added fragrance or a missed cleaning step is worth mentioning to support. Use the maker's method and cleaning agent, if one is specified. Keep household cleaning mixtures out of the tank.
Once the permitted checks are complete, follow the maker's test procedure on a suitable old cloth before returning to the garment. If the head still spits repeatedly, the body leaks or the appliance behaves abnormally, stop and ask for service advice. Give support the full model, where the water appears and which steps changed the symptom. See finding your model number if the reference is difficult to locate.
Manufacturer instructions
Frequently asked questions
Why does my steamer spit when I first turn it on?
It may need to reach its ready state or clear residual water using the maker’s startup procedure. Wait for the model’s ready indication and follow any specified priming step before treating clothing.
Why does it spit after I refill the tank?
Check the fill level, cap and tank seating with the appliance unplugged and handled as instructed. Some models need reheating and priming after a refill. Use the instructions for your exact steamer.
Can tilting a handheld steamer make it spit?
An unsuitable angle can interrupt normal use or release water. The Russell Hobbs 28370 manual warns against tilting the head backwards. Keep your model in its approved operating and resting positions.
Why does an upright steamer gurgle before water comes out?
Condensation can collect in a hose. Check the setup against the manual, including its permitted route and the position of the head. Follow the maker’s method for dealing with condensation.
Should I descale a steamer that spits?
First check startup, water level and operating position. If maintenance is due, use the exact model’s approved procedure. Stop and contact the maker for a body leak, damage, abnormal operation or a fault that persists after the permitted checks.