
Drying symbols explained
Read the drying square on your clothes label. Match line, flat, drip and shade instructions to a practical drying setup and check tumble-dryer limits.
Find the square and read everything inside it
The square is the drying group on an international care label. A circle within it points to a tumble-dryer process. Straight lines within the square describe how the garment should be supported during natural drying. A diagonal mark adds shade. Look for more than one drying instruction and read the wording alongside the symbols before unloading the wash.
The care label describes the finished item, including its dyes, finish and decoration. Use it to choose the method even if another garment made from the same fibre dries differently. The general clothes care label guide explains how washing, bleaching, drying, ironing and professional care fit together.
A cross through the tumble-dryer version means the garment must stay out of that dryer. Check the natural-drying instruction next. If the position is missing or hard to read, ask the garment maker before hanging a wet item that might need full support. Keep a photograph of the label so you can check it without handling the damp garment.
Match line direction and number to the drying position
GINETEX's natural-drying system combines the support position, a drip instruction where present and a shade instruction where present. The descriptions below help you identify the relevant part of your label. Check the authoritative artwork in the source guide if the small mark is difficult to distinguish.
Scroll sideways to see all the natural-drying combinations.
| Inside the square | Instruction | Set up for |
|---|---|---|
| One vertical line | Line drying | A hanging position suitable for the item |
| Two vertical lines | Drip line drying | Hanging with runoff managed |
| One horizontal line | Flat drying | Support across the garment's shape |
| Two horizontal lines | Drip flat drying | Horizontal support with runoff managed |
| One vertical line plus shade mark | Line drying in shade | Permitted hanging away from direct sunlight |
| Two vertical lines plus shade mark | Drip line drying in shade | Hanging and drainage away from direct sunlight |
| One horizontal line plus shade mark | Flat drying in shade | Full support away from direct sunlight |
| Two horizontal lines plus shade mark | Drip flat drying in shade | Horizontal support and drainage away from direct sunlight |
Make the position work for the wet garment
For hanging, check the width and drop the piece needs. A long shirt can reach a shelf below, and a pair of trousers can bunch at the waistband. Use the position the maker permits and leave air around the fabric. A drying square tells you the arrangement to provide. The exact hanger, peg placement and handling can still need garment-specific advice.
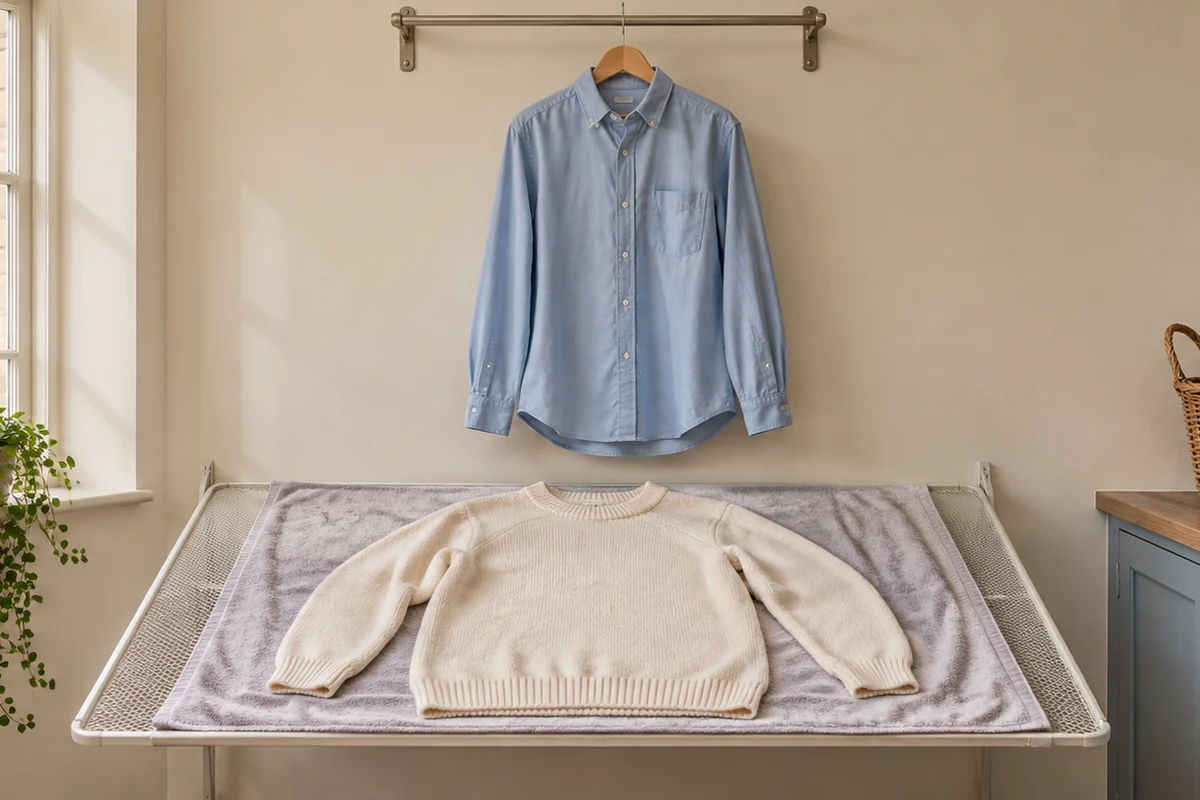
For flat drying, spread the garment to its normal shape on a suitable clean support. Keep sleeves and other sections from hanging over the edge. Woolmark recommends supporting washed wool knitwear flat unless its care claim allows another method. Check a mesh area with the garment laid out before relying on it for a large jumper.
The OXO Folding Sweater Dryer 1327780 is a mesh support example. Its open frame is approximately 66 cm square. Check the actual usable surface and the full garment shape before choosing it. A larger jumper or long garment may need more area.
OXO Good Grips Folding Sweater Dryer 1327780
A square mesh surface supports a suitable garment flat. Low legs lift the mesh above the work surface, and the frame folds for storage.
Good for
A jumper or other flat-dry garment whose full shape fits within the supported mesh area.
Bear in mind
Measure the garment with its sleeves arranged before choosing the rack. It needs a stable level surface beneath its feet and space for air to reach the mesh.
- Approx. 66 cm square open
- Flat mesh support
- Folds for storage
Drip drying adds a practical drainage question. Choose a surface below the rack that can tolerate and safely contain water. Keep runoff clear of electrical appliances, controls and walking routes. Read the washing instructions before changing the spin or squeezing the fabric. For a delicate item, check whether the maker permits any water removal before placing it in the required drying position.
Apply shade as well as the support instruction
Check where sunlight reaches the drying spot over the time the item will be there. A rack that starts in shade can move into direct sun as the light changes. Keep the garment away from that path while preserving its required support.
Indoors, consider a bright window in the same way. Put the rack in a suitable ventilated position where the fabric stays out of direct sun if shade is required. Keep the cloth clear of walls and furniture and check that the hem or sleeve cannot slip off its support. See drying indoors with less condensation for room ventilation checks.
Read tumble-dryer dots separately
In the circle-and-square tumble-drying symbol, one dot indicates a lower-temperature process and two dots indicate a normal-temperature process. GINETEX identifies these as 60°C and 80°C respectively. Match the permitted process to the dryer manual's programme descriptions, including any load restrictions.
A programme called delicate or easy care can mean different things between appliances. Check its actual intended use in the manual. For an item with separate washing and drying limits, follow both. When the dryer is ruled out, look for the line or flat instruction before choosing a rack. Our flat drying steps and airer capacity guide show how support and usable space affect a real load.
Plan the next wash around the drying space
Check the labels before filling the machine if several items need flat drying. Lay the dry garments out beside the available support to see whether each will fit once damp. A drip-flat item also needs drainage space beneath its whole shape. If the rack can support one garment comfortably, give that garment its own session. For a shade instruction, check the drying spot again later in the day. Move the support as a whole if its maker permits, keeping the garment in the required position.
Sources and guidance
Frequently asked questions
Does do not tumble dry mean dry flat?
Look for the natural-drying symbol or written instruction. A crossed-out tumble-dryer symbol rules out the dryer. It does not specify the position for natural drying.
What do two vertical lines inside a square mean?
They describe drip line drying. The item hangs while excess water drains. Check the washing instructions before removing water and choose a location that can handle runoff.
What do two horizontal lines in the drying square mean?
They describe drip flat drying. Support the item horizontally while it drains, using a setup suitable for its wet weight and any runoff. Add shade if the symbol includes the shade mark.
Can I dry a flat-dry garment over two airer bars?
Check whether the fabric is fully supported in its normal shape. Narrow bars can leave unsupported sections hanging between them. A suitable mesh support can be useful if it carries the whole garment without stretching it.
What does the diagonal line in a drying square mean?
The shade mark adds a requirement to keep the garment out of direct sunlight while using the indicated natural-drying position. Read it together with the vertical or horizontal lines.