
How to iron a cotton shirt
Iron a cotton shirt in order, from collar and cuffs to sleeves and body. Choose the heat from the label and avoid sleeve creases and button marks.
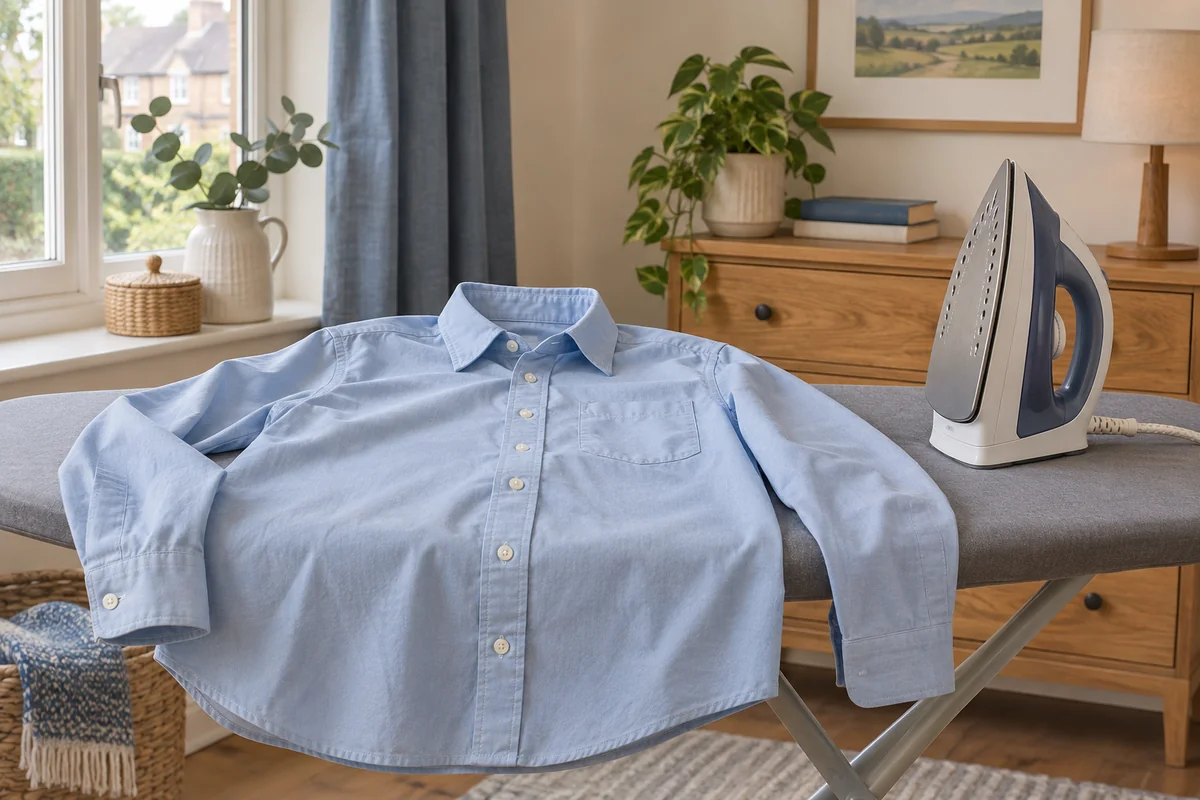
Check the label and set up the board
Find the iron symbol and any written care instructions before choosing a heat setting. The dots show the maximum the garment can take. A cotton setting may suit an untrimmed shirt labelled for high heat. A lower limit can apply to a cotton blend, easy-care finish, printed panel or contrast trim. If the label rules out ironing, leave the iron off. Read our clothes care symbols guide if the marks are unfamiliar.
Set up a stable board with a clean, smooth cover. Have a hanger ready so the shirt has somewhere to go as soon as you finish. Unbutton the front, cuffs and any button-down collar points. Take out cufflinks and any removable collar stays. Leave sewn-in stays alone and take care around the collar tips. Check that the shirt and soleplate are clean before making contact.
Plain cotton that is still slightly damp from washing can be easier to press if its care instructions allow. When the shirt is dry and the label permits moisture, you can lightly mist a stubborn area with plain water or use steam where the iron allows it. Avoid soaking a panel. Test your chosen setting on a less visible area and keep the iron moving. GINETEX ironing guidance.
1. Press the collar and collar band
Open the collar flat with the underside facing up. Arrange it so there is no folded fabric underneath. Smooth the fabric with your free hand before bringing the iron to it, then keep your fingers clear of the soleplate. Use light passes from each point towards the centre to keep folds from gathering at the tips.
Turn the collar over and repeat if needed. Open the collar band, the narrower strip that sits around the neck, and smooth it in sections. Keep the pointed ends flat while you work around their stitching. Leave the collar open until you hang the shirt so you can finish the top of the front panels without crushing it.
2. Open the cuffs and press the sleeves
Lay a cuff open and start on the inside. Turn it over if the outer face still needs a pass. Guide the tip around any buttons, and leave a double cuff unfolded until you have finished pressing it. On each sleeve, line up the underarm seam and feel for folds in the fabric underneath before you iron. A ripple in the lower layer can turn into a sharp crease once it is pressed.
Work from the shoulder towards the cuff. For a smooth sleeve, press the middle and leave the folded edges alone. Rotate the sleeve to bring those strips of fabric onto the flat part of the board. A sleeve board can make this easier if you already have one. If you want a deliberate crease on a formal shirt, align the sleeve evenly and press the outer fold once you are happy with its position.
3. Fit the shoulders over the nose of the board
The yoke is the panel across the upper back. Slip one shoulder over the narrow end of the board so its curved seam sits naturally. Flatten the yoke without pulling the sleeve or collar out of shape. Press the supported area, then rotate the shirt to do the other shoulder. Use the tip at the edges if the cloth starts to fold where the seam curves.
4. Iron the fronts and work around the buttons
Lay one front panel face up. Let the rest of the shirt hang over the edge so you are working through a single layer. Smooth from the shoulder down to the hem. If the shirt has a pocket, flatten it with your hand and work around the edges with short passes so the opening stays in shape.
The placket is the strip that carries the buttons or buttonholes. Work between the buttons with the tip of the iron, keeping the soleplate off the fastenings. If the gaps are tight, turn that strip over and iron the cloth from behind. Switch to the other front and smooth the buttonhole strip with the same care. On a shirt worn under a jacket, the placket and collar are the parts people will see most.
A conventional iron with a tapered tip can help with the narrow gaps. The Russell Hobbs Powersteam Ultra 20630 has a tapered tip, button grooves and separate temperature and steam controls. Choose the setting for the shirt in front of you. If you already have a clean iron with a suitable setting, you can use it for the same sequence.
Russell Hobbs Powersteam Ultra 20630
A 350 ml tank, ceramic soleplate and adjustable temperature and steam controls suit a mixed weekly basket. Russell Hobbs lists a 210 g steam burst.
Good for
Regular batches when you want a conventional iron with a larger tank and accessible controls.
Bear in mind
The tank is part of the handpiece, so filling it adds weight. Steam needs an appropriate temperature setting and the self-clean routine still needs doing.
- 350 ml
- 3100 W
- Up to 70 g/min stated continuous
- 210 g stated burst
5. Finish the back and hang the shirt
Spread the back from the yoke down. If the board is narrower than the shirt, press the middle first, then move the fabric to do each side. Smooth any pleat at the upper back into its original position and check whether it is meant to lie open below the stitching. Press the fabric around it with the tip.
Put the shirt on a hanger and check the collar, placket and sleeve edges in good light. If one spot still has a crease, lay just that area back on the board and check the layer beneath it before making another pass. Let the shirt cool and dry fully before putting it away. If the iron leaves spots as you work, pause before using it on another shirt. Iron spitting and leaving marks.
Fix a crease that keeps coming back
If a crease reappears as soon as you move the shirt, check where the loose fabric is hanging. A finished front can get trapped under the back or dragged across the edge of the board as you turn the shirt. Lift the pressed section clear and reposition the next piece flat. At seams and cuffs, try light, short passes so you can see whether you are pressing the cloth flat or flattening the raised seam into it. For a shirt that only needs a quick refresh, see how to steam a shirt.
Garment and iron instructions
- Turnbull & Asser shirt care and pressing sequence
- Moss shirt pressing technique
- GINETEX ironing symbols and limits
- Russell Hobbs Powersteam Ultra 20630 specification and instructions
For awkward sleeves, see sleeve boards for home ironing. For a different fabric or finish, follow the guides to ironing a linen shirt and ironing a printed T-shirt.
Frequently asked questions
What temperature should I use to iron a cotton shirt?
Use the setting permitted by the shirt’s care label and match it to your iron’s controls. Three dots allow a hotter setting than two dots. A cotton blend, easy-care finish, print or trim can have a lower limit than plain cotton.
Should a cotton shirt be damp before ironing?
A slightly damp plain cotton shirt can be easier to smooth if its care instructions allow moisture. It should feel evenly damp rather than wet. Follow any restrictions on dampening or steam for the exact shirt.
How do I iron shirt sleeves without a crease down the side?
Lay the sleeve with its underarm seam aligned, smooth the hidden layer and press the middle. Keep the iron clear of the folded edges. Rotate the sleeve to press the areas left out of the first pass.
Do I need steam to iron a cotton shirt?
No. If the label allows it, you can use steam on a dry shirt. For a plain shirt that can be pressed slightly damp, a dry iron can also work. Turn off steam if the garment or iron instructions require it.
Do I iron over the buttons or remove them?
Leave sewn buttons attached and guide the tip between them without touching them. Remove detachable collar stays and cufflinks before ironing. Work from the reverse of the placket if there is too little room between buttons.
Can I iron a non-iron cotton shirt?
Check the label for the exact shirt. Some easy-care finishes allow a light touch-up at a specified setting. A crossed-out iron rules out pressing even if the shirt is cotton.